<개요>
이번에는 TabBarNavigation을 써보고 해당 TabBarNavigation을 다시 Stack Navigator안에 넣어서 표현 해보았다.
TabBar 구조도 다를 것 없다. 기본 화면은 맨 왼쪽 탭이 나오고 나머지 탭들을 누를 때마다, focus가 옮겨져 해당 화면이 render 된다. 다른 화면으로 포커스를 옮겨도 이전 화면들이 unmount되어서 랜더 되었던 게 사라지는 것은 아니다. 다른 화면들은 처음 render된 후 그대로 유지된다.

1. 로직
구조도는 다음과 같다. 각 Navigator간의 계층이 밑과 같이 나누어져 있다.


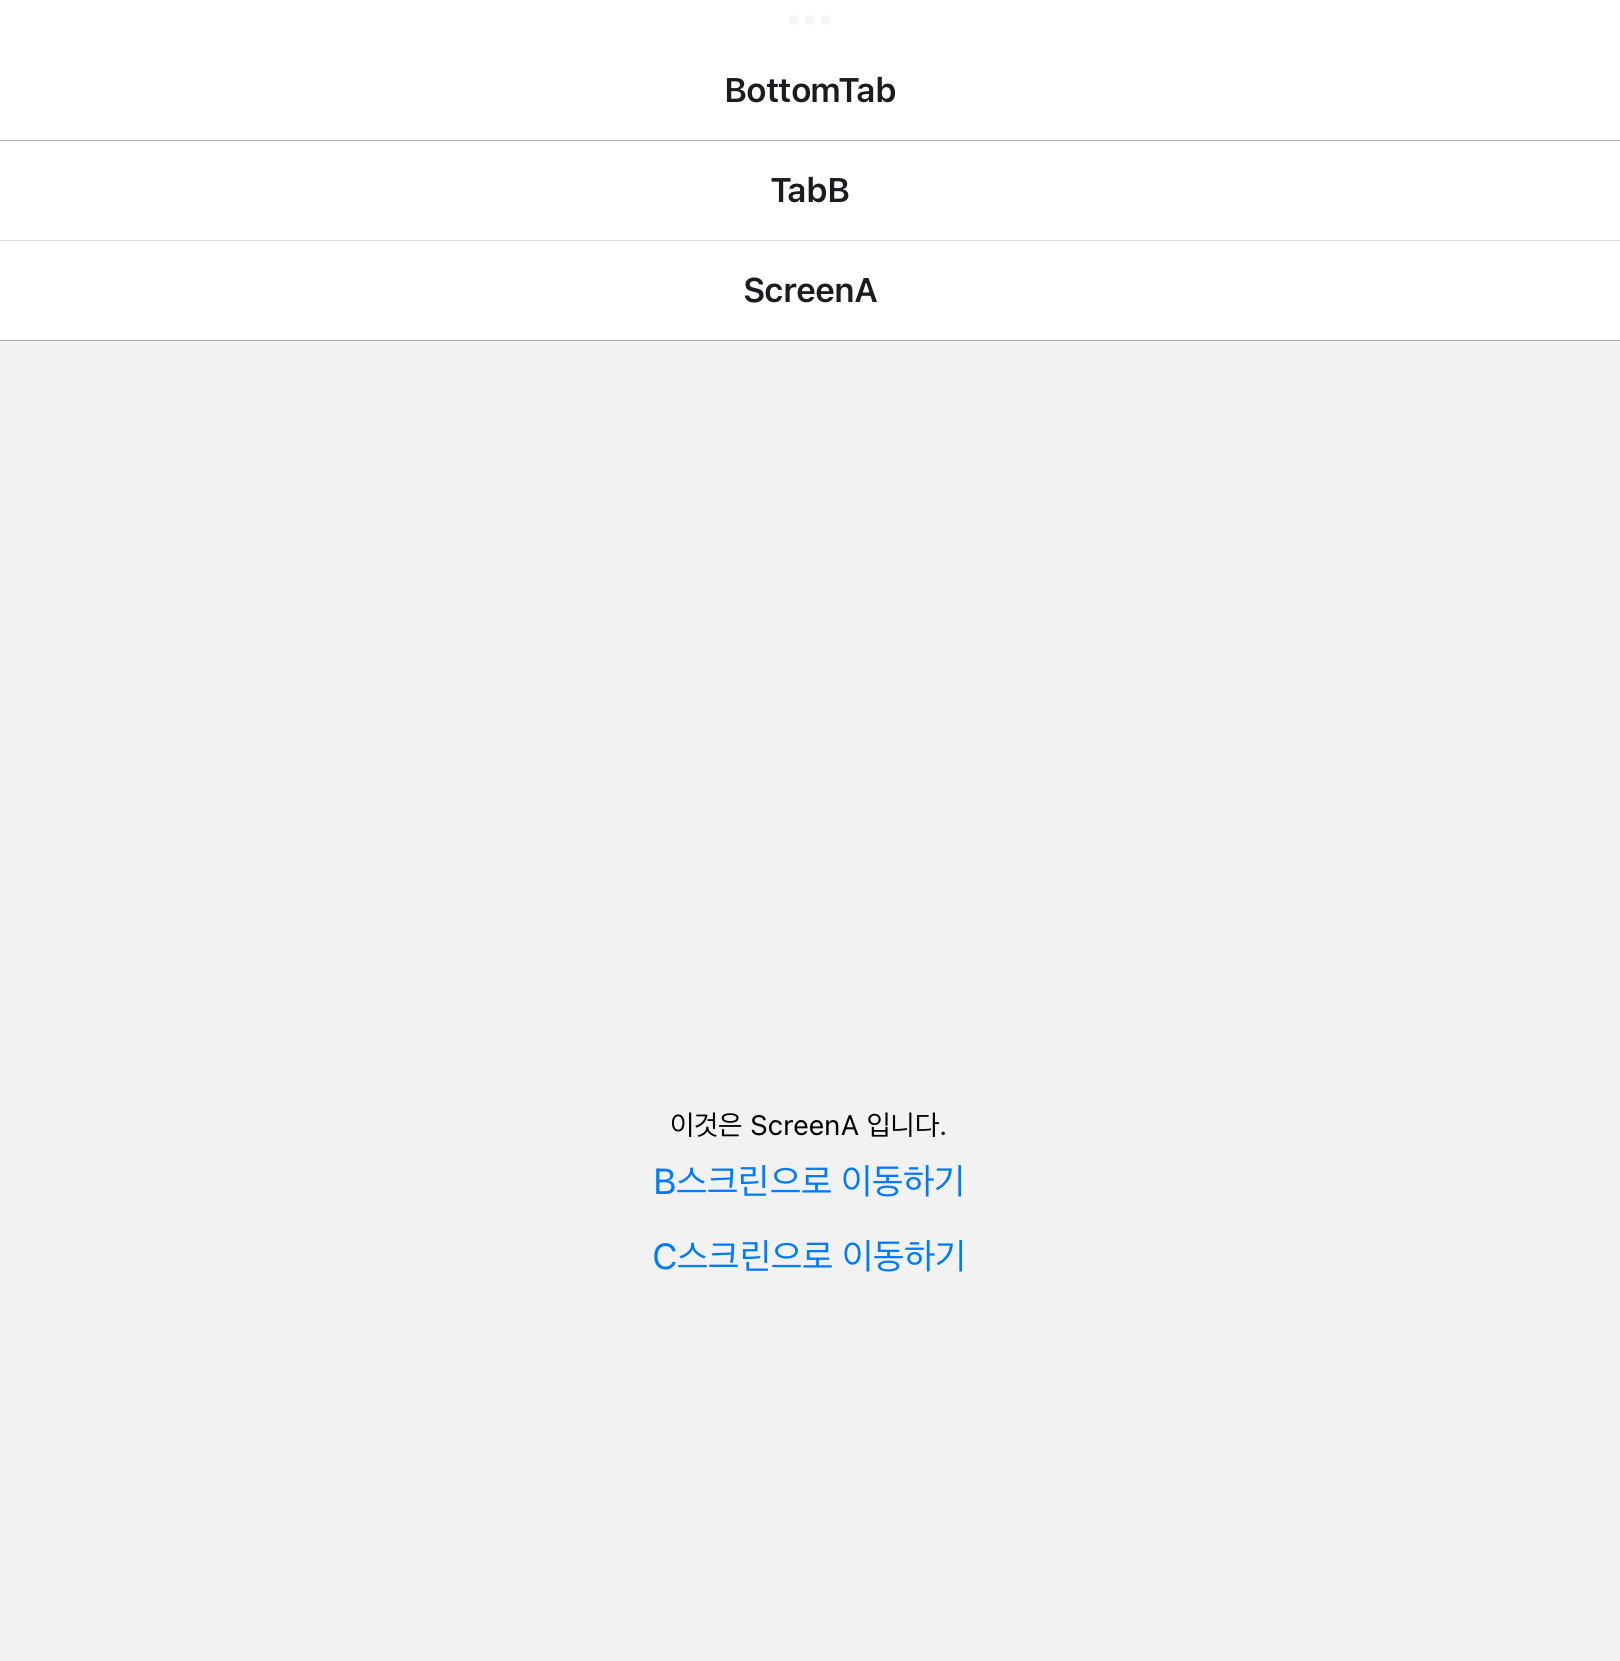
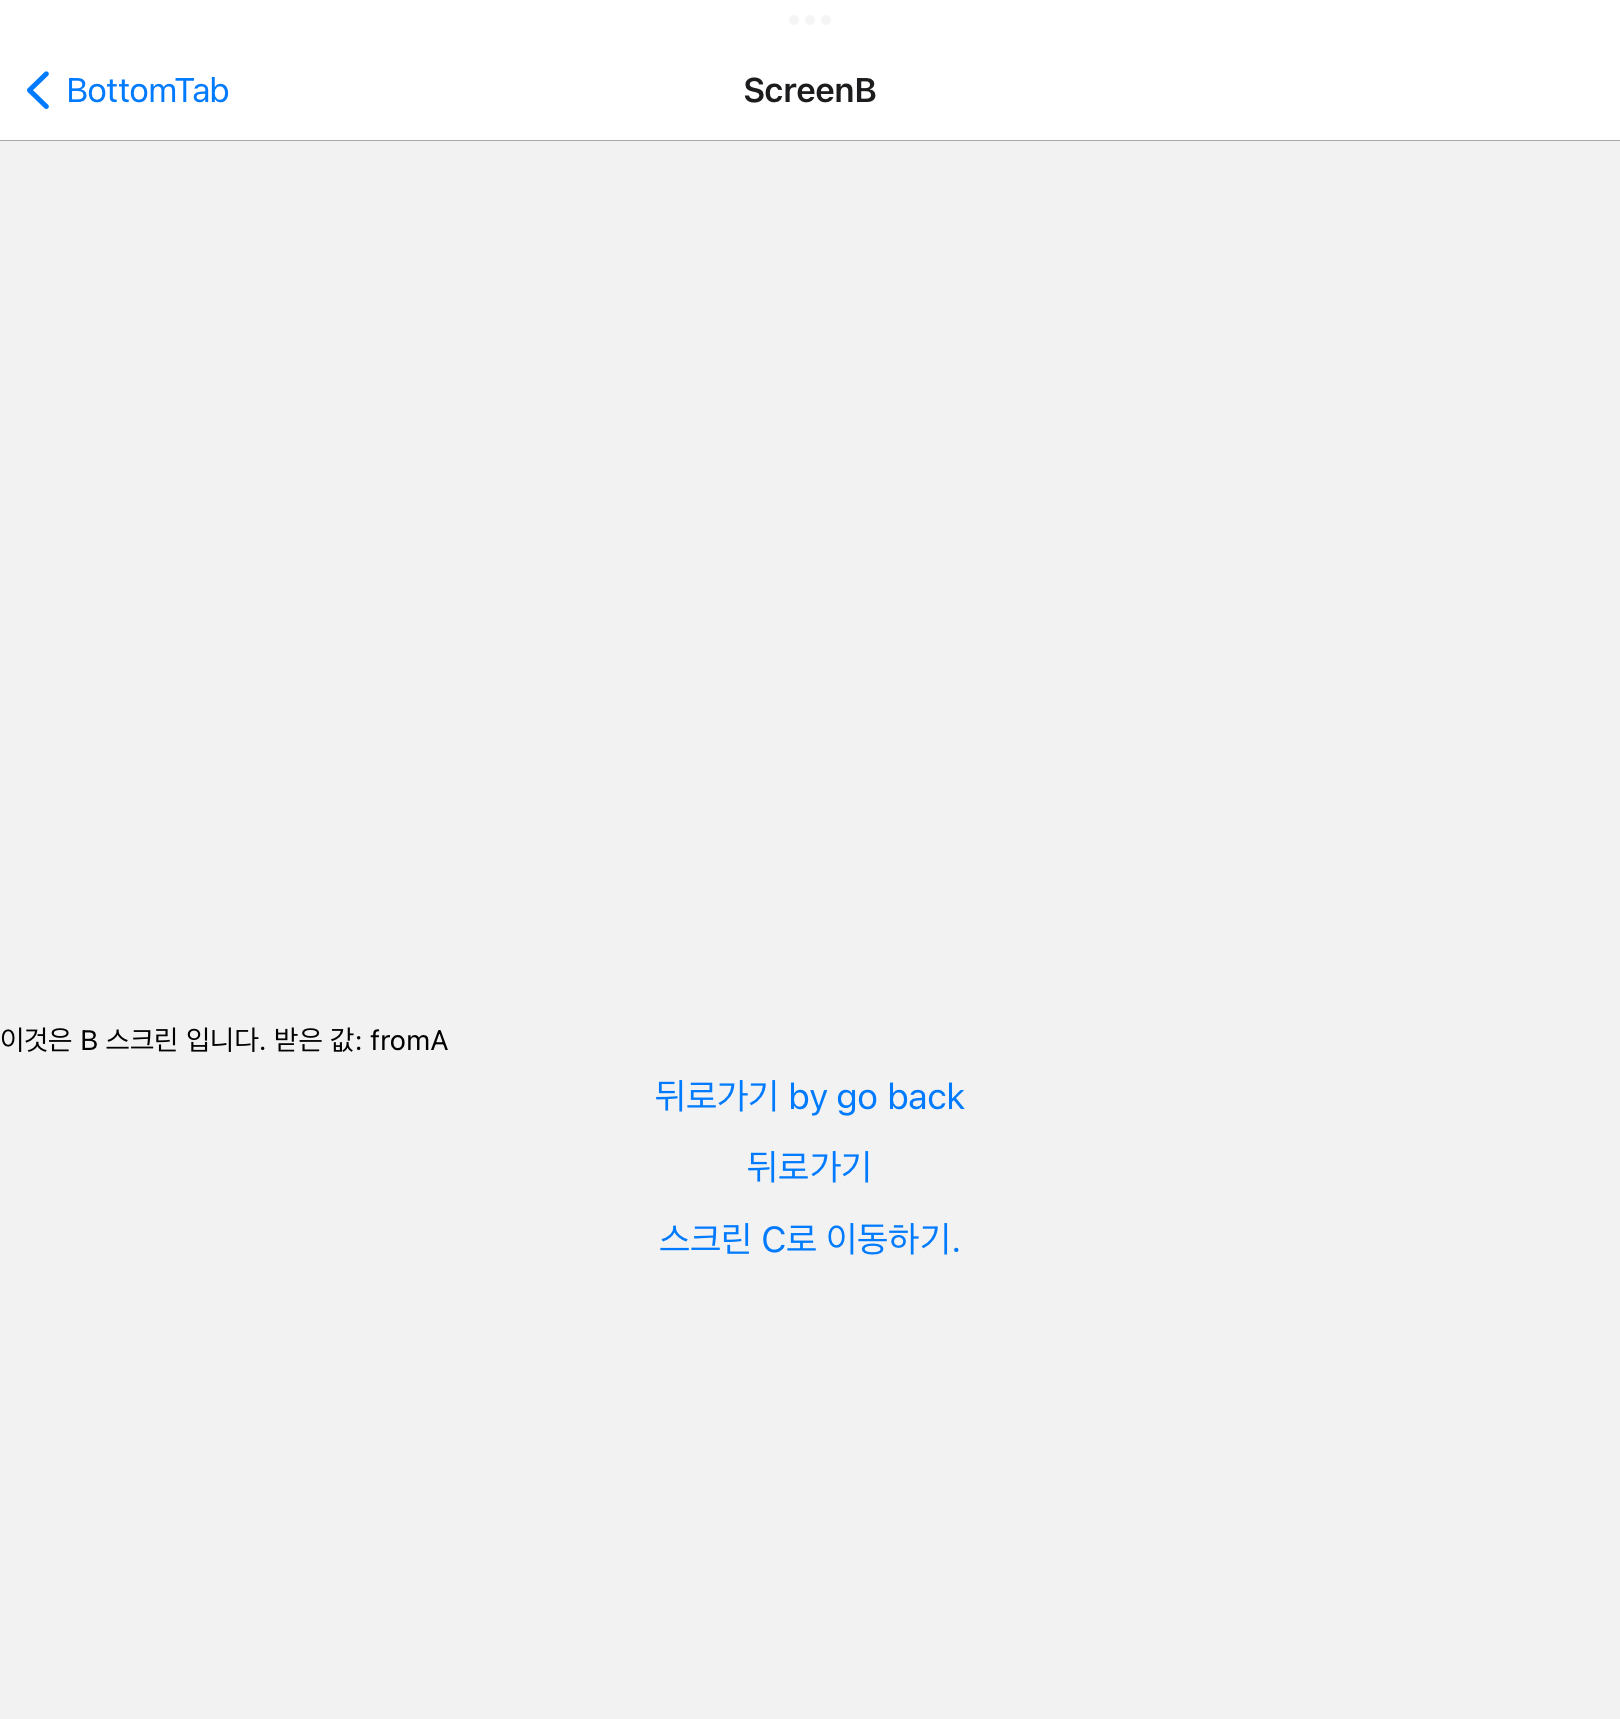
위의 설명처럼 우리는 Level1 Stack의 첫번째 층인 BoomTab에서 Level3 Stack의 ScreenA를 보다가, ScreenA가 B를 호출함에 따라 다시 Level1 Stack으로 돌아왔다. 따라서 겹겹히 쌓였던 Header와 탭 바도 ScreenB에서는 보이지 않는다.


2. 코드 리뷰


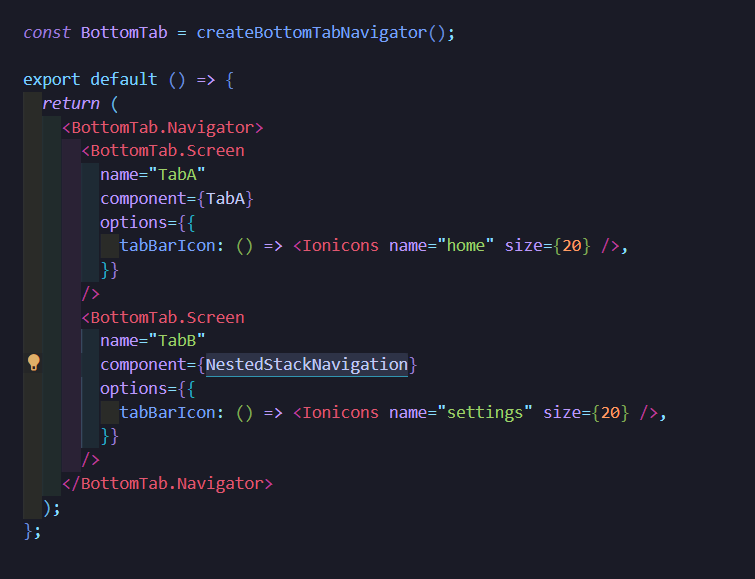
tabBarIcon 옵션은 해당 Tab의 아이콘을 바꿀 수 있는 옵션이다.

NestedStackNavigation 안 쪽이다. 해당 스택에서 ScreenB를 지운 이유는 Level1 에 기술한 ScreenB를 이용하도록 하기 위함이다.


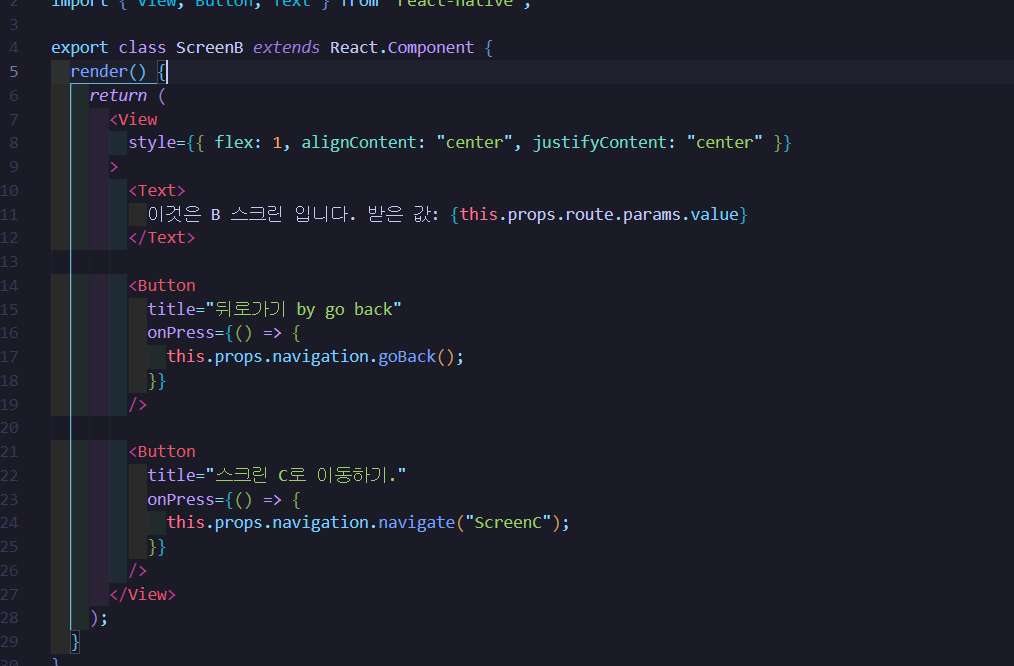
Navigation.Navigate 함수를 이용하면 계층 상관 없이 해당 루트가 존재하기만 한다면 해당 루트를 통해 이동할 수 있다.
3. 새롭게 배운 것
React Navigation
reactnavigation.org
// You can import Ionicons from @expo/vector-icons/Ionicons if you use Expo or
// react-native-vector-icons/Ionicons otherwise.
import Ionicons from 'react-native-vector-icons/Ionicons';

// (...)

export default function App() {
  return (
    <NavigationContainer>
      <Tab.Navigator
        screenOptions={({ route }) => ({
          tabBarIcon: ({ focused, color, size }) => {
          // 인수로 받은 route를 다시 구조분해 할당, focused는 사용자의 클릭에 따라 달라짐.
          // color는 밑의 Active,Inactive로 정의, size는 기본값을 썼나봄.
            let iconName;

            if (route.name === 'Home') { // route도 인수로 받았음으로 사용 가능
              iconName = focused
                ? 'ios-information-circle'
                : 'ios-information-circle-outline';
            } else if (route.name === 'Settings') {
              iconName = focused ? 'ios-list' : 'ios-list-outline';
            }

            // You can return any component that you like here!
            return <Ionicons name={iconName} size={size} color={color} />;
          },
          tabBarActiveTintColor: 'tomato',
          tabBarInactiveTintColor: 'gray',
        })}
      >
        <Tab.Screen name="Home" component={HomeScreen} />
        <Tab.Screen name="Settings" component={SettingsScreen} />
      </Tab.Navigator>
    </NavigationContainer>
  );
}


